
Your first stream
Create an account if you haven’t already.
Step one - Content
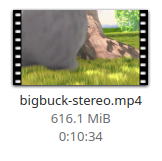
Section titled “Step one - Content”Create and export your content with any video editor (however we reccomend not using ClipChamp or CapCut).
We accept .mp4, .mov, .webm, and .mkv file types. See detailed video uploading guidelines.
Setp two - YouTube setup
Section titled “Setp two - YouTube setup”Go to studio.youtube.com.
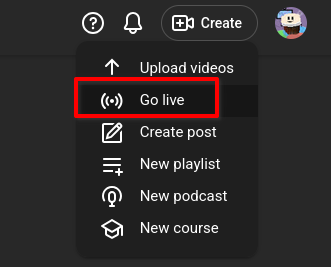
In the top right, click “Create” and “Go Live”.
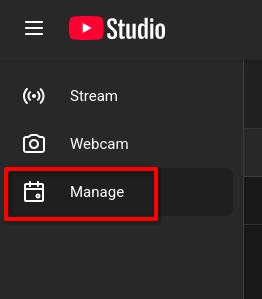
On the left, go to the “Manage” page.
Click “Schedule” and enter in the info about your live stream, such as title and description.
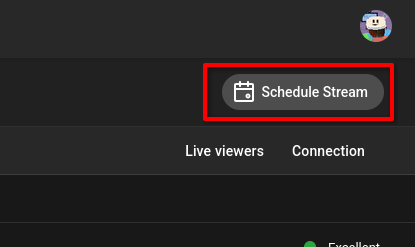
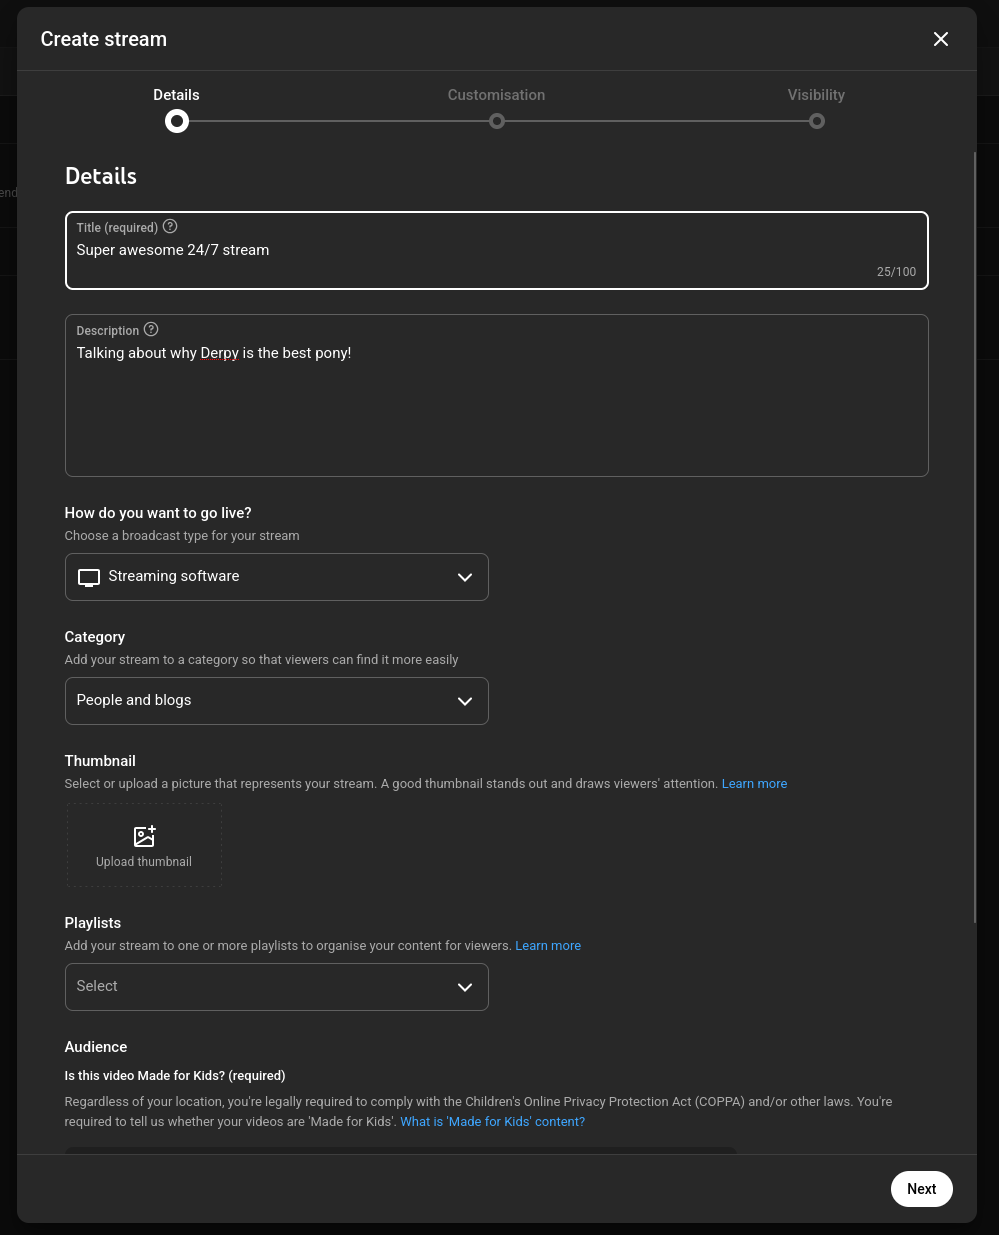
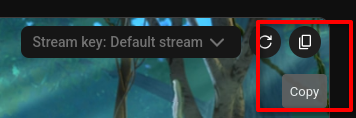
Once it’s set up, copy your stream key.
Step three - Runnel setup
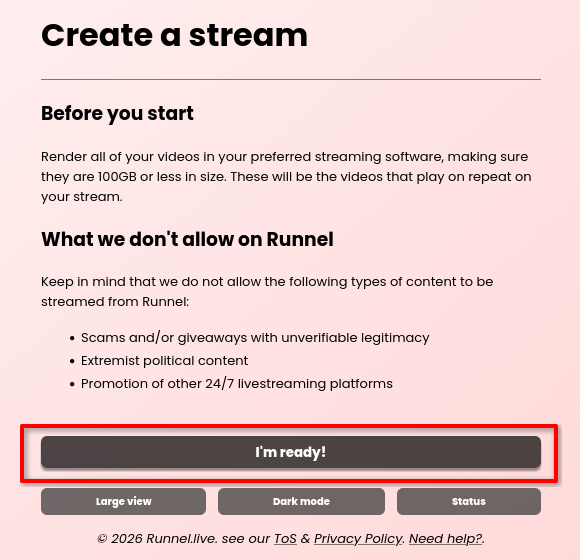
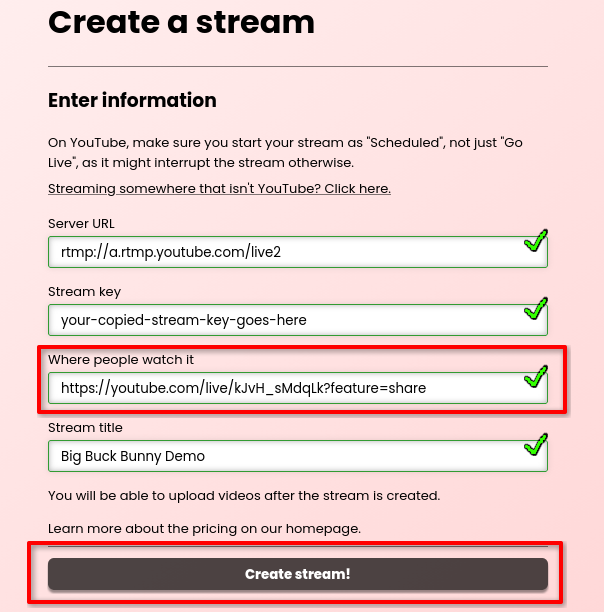
Section titled “Step three - Runnel setup”Go to the stream creation page and read over the disclaimers.
Paste in your stream key, and add a title to find it later in Runnel.
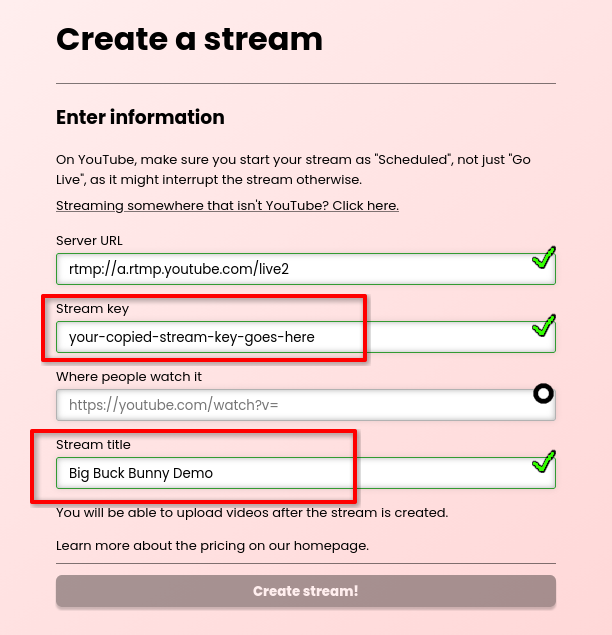
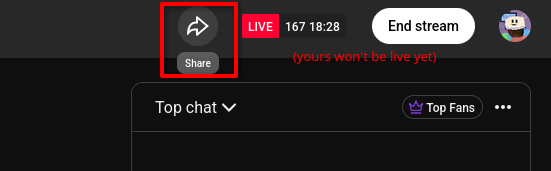
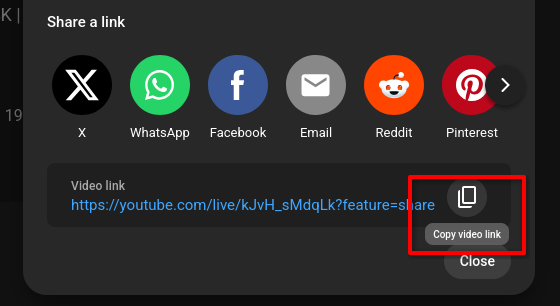
Copy the URL of your stream from YouTube.
Enter it into Runnel, and click “Create Stream”.
You’ll be redirected back to your streams page, where you should then click on the newly created one.

Step four - Videos
Section titled “Step four - Videos”On your stream page, click “Upload videos”. You’ll be prompted for a list of files you’d like to add, and given a price to upload them based on the bitrate.
You’ll then need to wait for them to go through the upload and processing queues.
Step five - Start
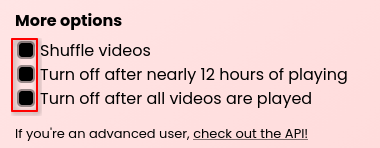
Section titled “Step five - Start”Select any additional options if they apply to your use case.
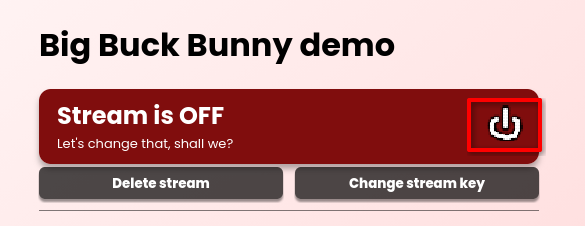
Click the power button.
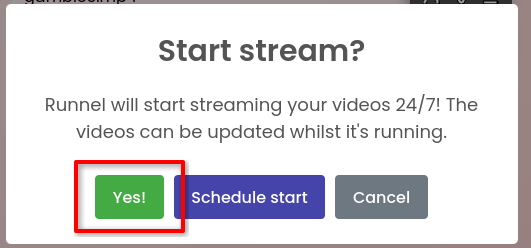
If needed, schedule the stream for a time and date, otherwise click “Yes!” to start.
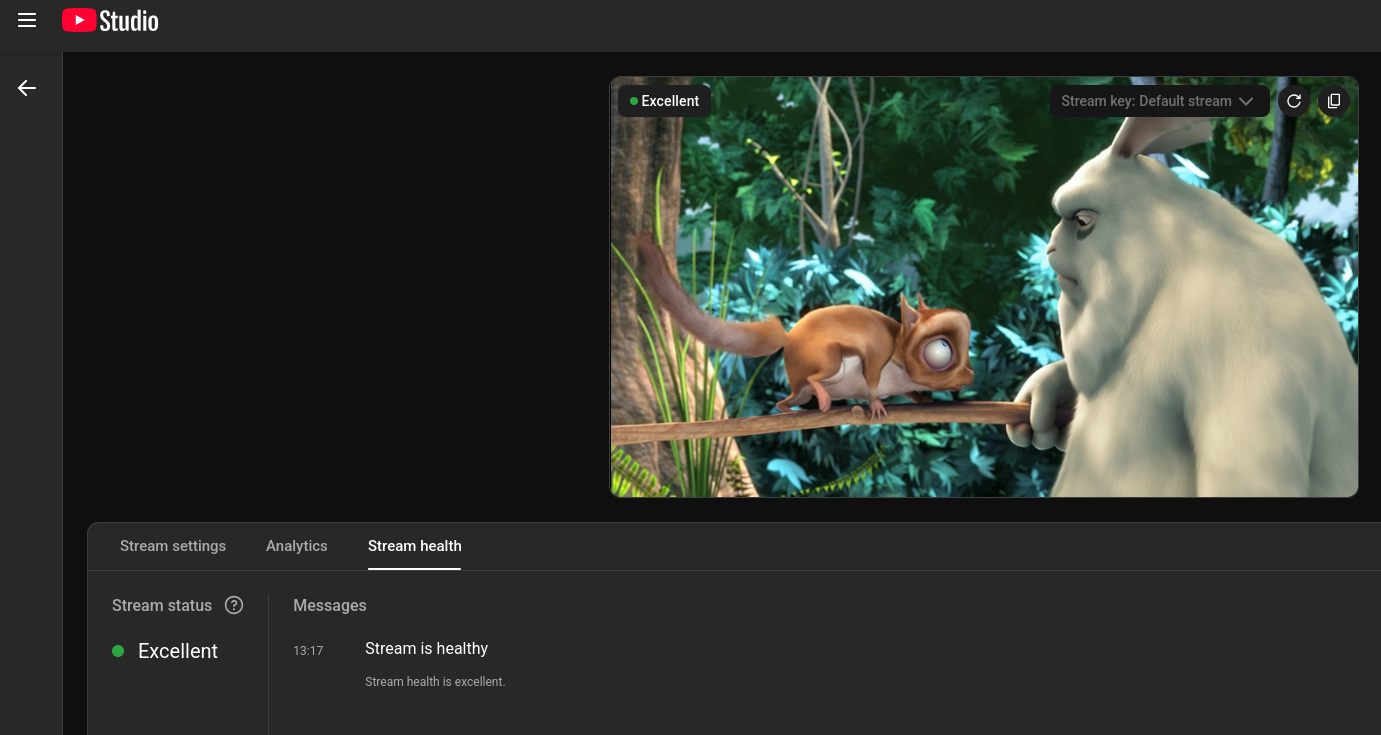
You will now be live on YouTube. Congratulations!
What next?
Section titled “What next?”- Upload more videos while it’s on to keep your audience engaged
- Add an affiliate link to the description to get free Runnel credit
- Learn how to create multiple livestreams
- See detailed video uploading guidelines